

PREP: 5 min
COOK: 5 min
SERVES:
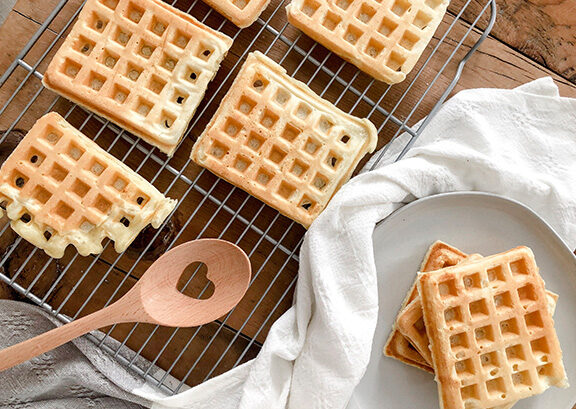
Freezer Friendly Waffles
SHARE THIS:


Ingredients
- 2 cups flour
- 1/2 tsp salt
- 4 tsp baking powder
- 1 tablespoon sugar
- 1 3/4 cup Oakhurst Whole Milk
- 2 eggs – beaten
- 1/3 cup oil
Preparation
- Put all the ingredients into a big bowl and whisk together. Leave the batter slightly lumpy.
- Preheat your waffle iron. I do this step after I mix all my ingredients together as I find it gives the baking powder a chance to activate…which yields a fluffier waffle.
- Grease your waffle iron well before putting on the first batch. Even if your waffle iron is “nonstick”, still give it a light spray. Don’t overfill your waffle iron. This will lead to a big mess. I use my large ice cream scoop to fill each square of my iron.
- Bake waffles according to your waffle iron instructions. I love crispy waffles but if I’m freezing them then I cook them until they are just lightly golden which is about 5 minutes for my iron. That way they don’t over bake when I put them in my toaster oven later.
To freeze: Let the waffles cool on a wire baking rack. Once cool, you can either throw them into a gallon freezer bag, a freezer safe container, or wrap first with plastic wrap then tin foil. They will freeze for about 2 months… if they last that long (never do in my house!) Just pop into a toaster for about 2-3 minutes and enjoy with real maple syrup and butter!